top of page
Quick Installation Guide for Autodun Smart Battery Stickers
1. Remove Battery:
Remove battery from car key fob.
Find VIDEO-GUIDE for the most popular vehicle models here.
2. Template Placement:
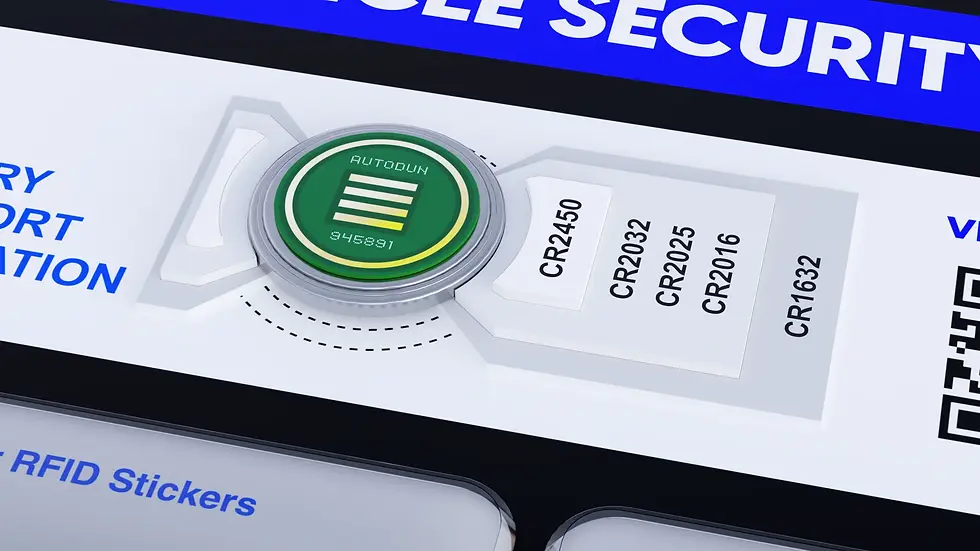
Place the battery, positive side down, into the template provided at the top of the packaging. This ensures proper alignment.


Remove the first protective film from the Smart Battery Sticker, following the indicator on the film.
3 Peel First Layer:
4. Apply Sticker:
Carefully align and stick the exposed side of the Smart Battery Sticker onto the negative terminal of the battery holding the second protection layer.
5. Press Firmly and Remove Second Layer
Press down firmly to ensure a secure connection between the sticker and the battery terminal. Peel off the second protective film from the Smart Battery Sticker.
6. Reinsert Battery and Test Functionality:
Place the battery back into your car key fob.
Test the key fob to ensure it operates as expected when near the corresponding RFID tags.
Congratulations, your AutoDun Smart Battery Sticker is now successfully installed!
bottom of page